Assembly Instructions

Suggested Tools

  • Ratchet with 1/2 inch Deep Well Socket
  • Two 5/8 inch End Wrenches
  • Tape Measure (at least 25 feet)
  • Impact Driver and Driver Bit

Detailed Assembly Instructions

Step 1: Position Gate Panels

Place the gates on an area of flat-level ground with the bottom corners touching. The outside of the gate should be facing down.

Step 2: Lift the Gates Into Position

Lift the gates into position one at a time.

Zip tie each corner loosely. The zip tie will be removed once the hinges are in place.

Step 3: Install Hinge Brackets on Three Corners

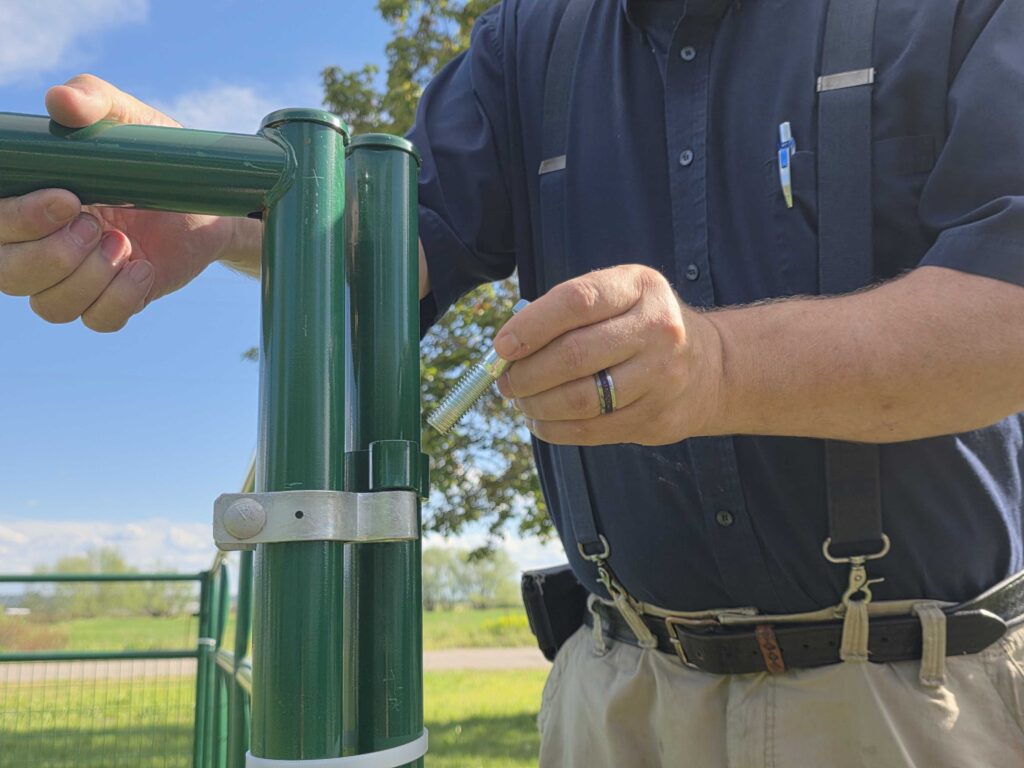
Each gate should come with 2 Hinge brackets. If additional Hinge Brackets are needed, they may be ordered from Ecko Farms.

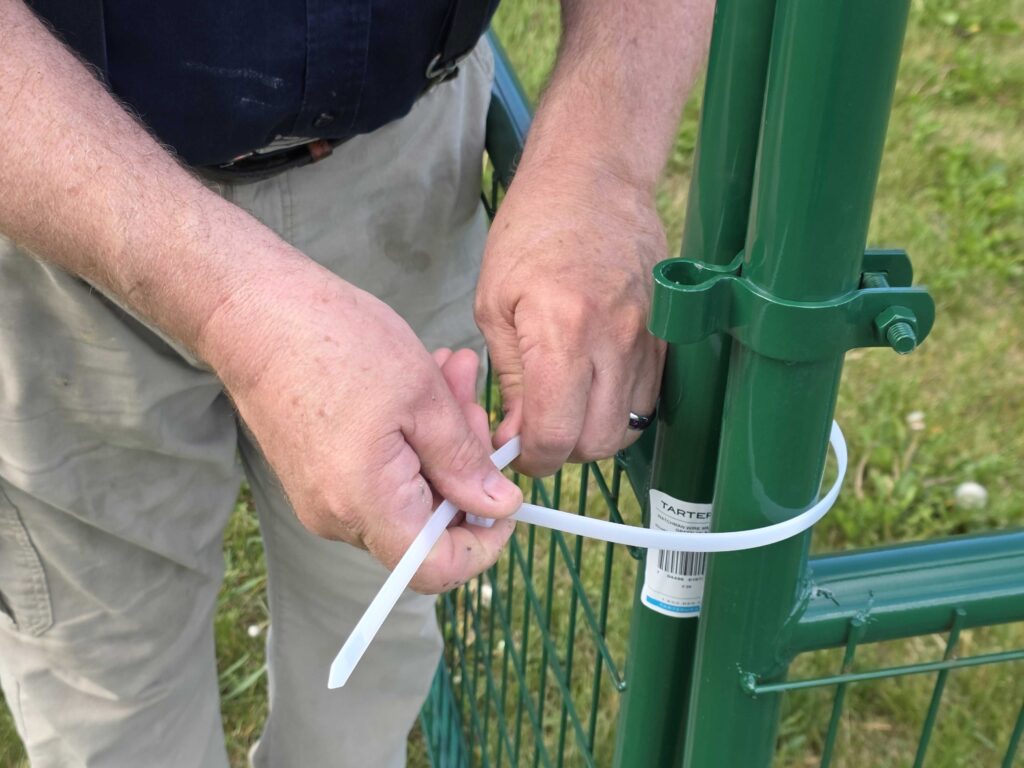
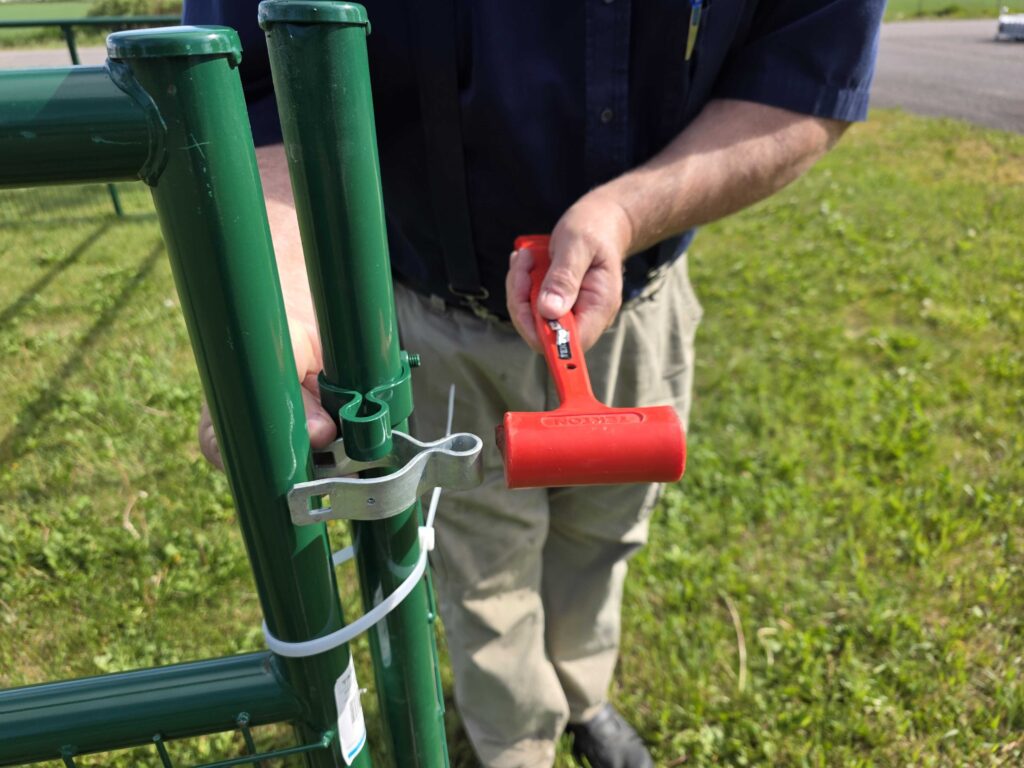
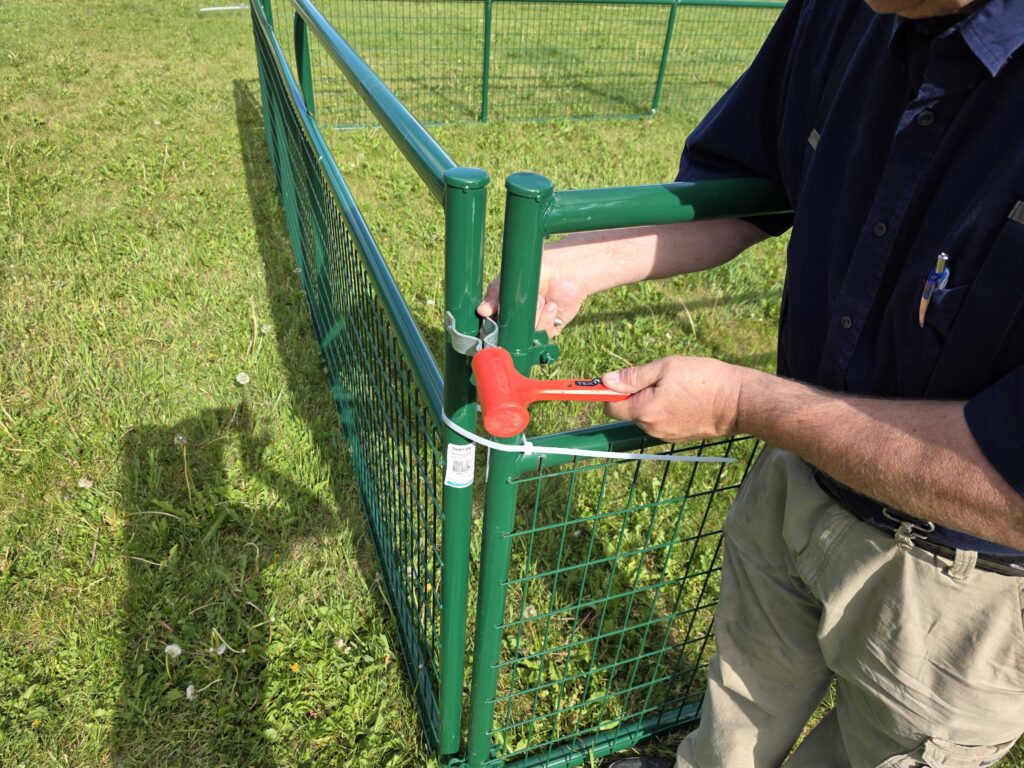
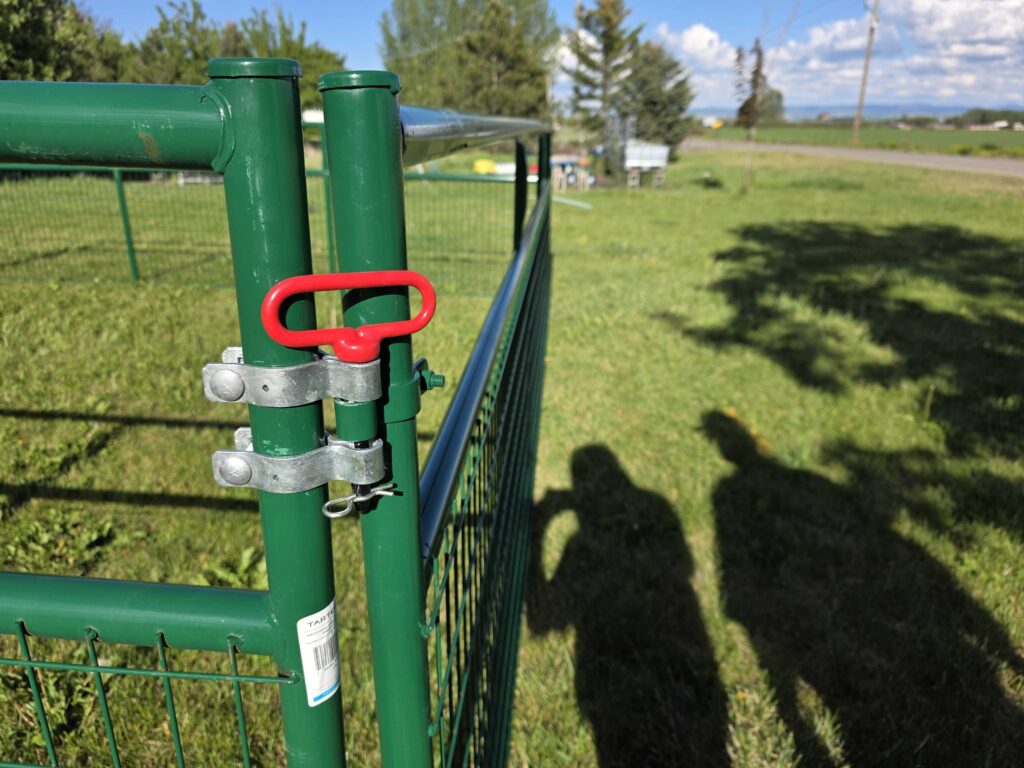
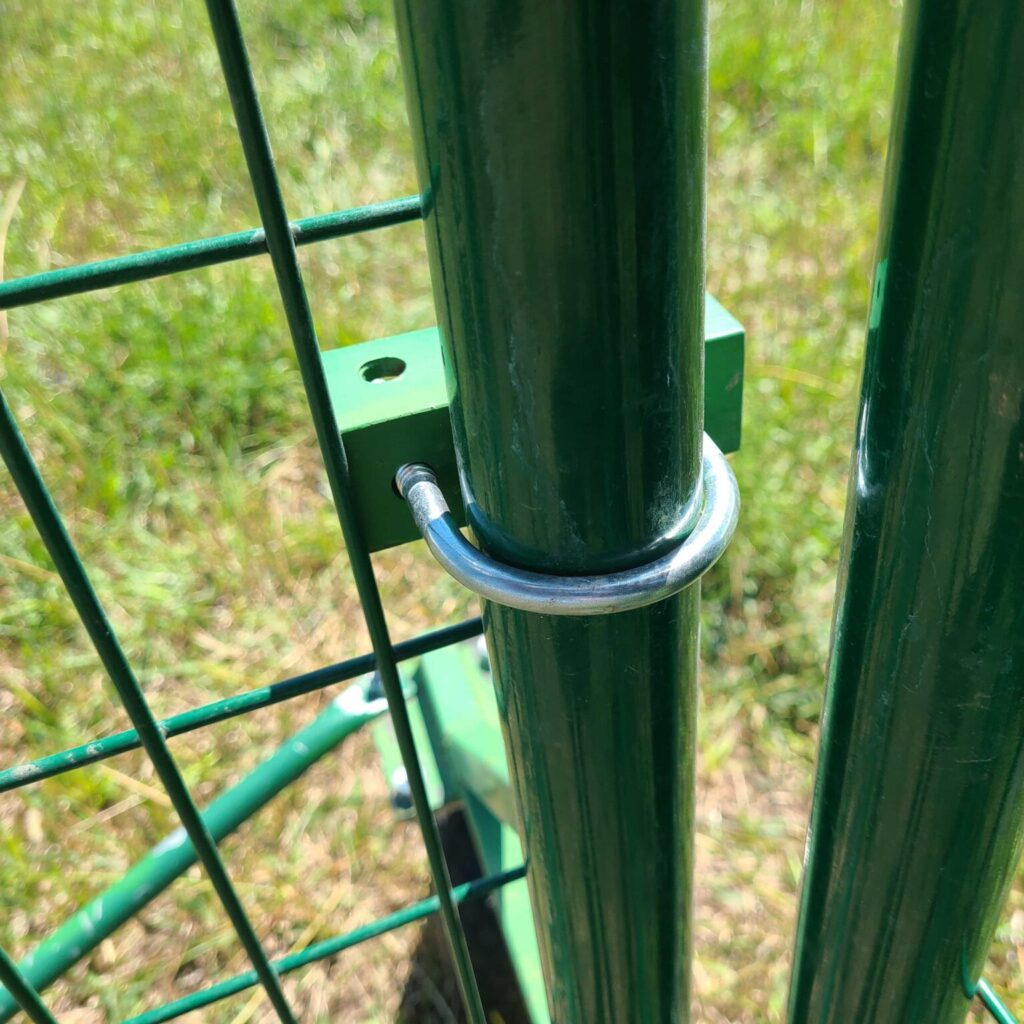
Place the included hinge brackets just above or below the brackets already on the gates. Using a mallet, gently tap each bracket until it is in place. 

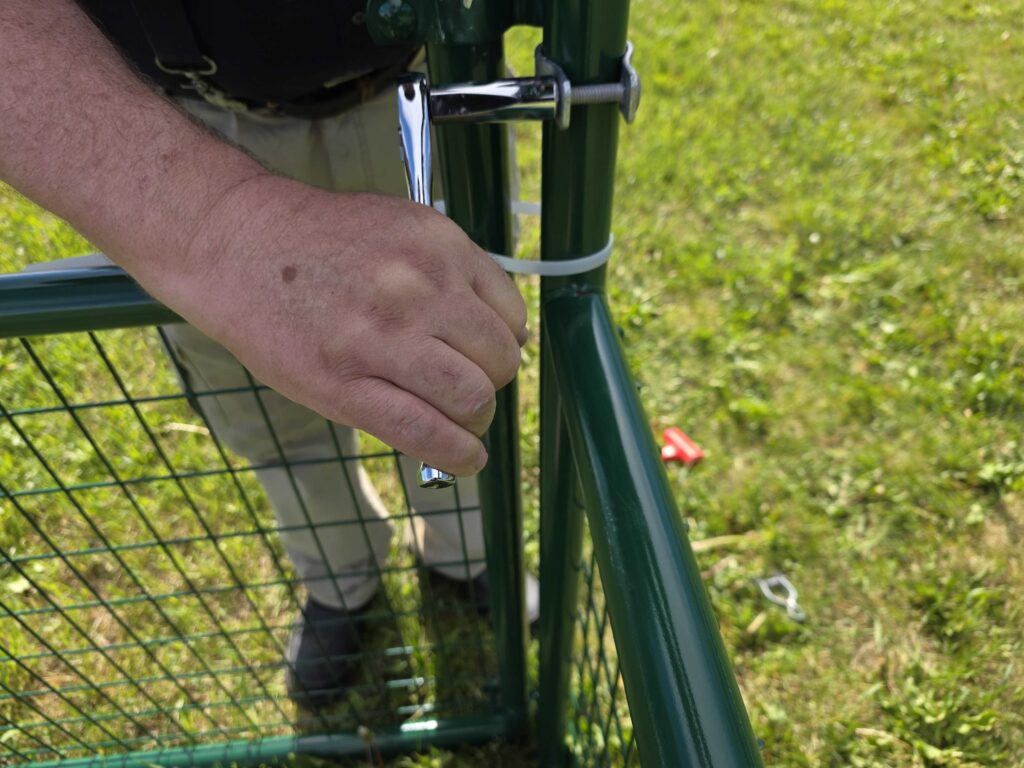
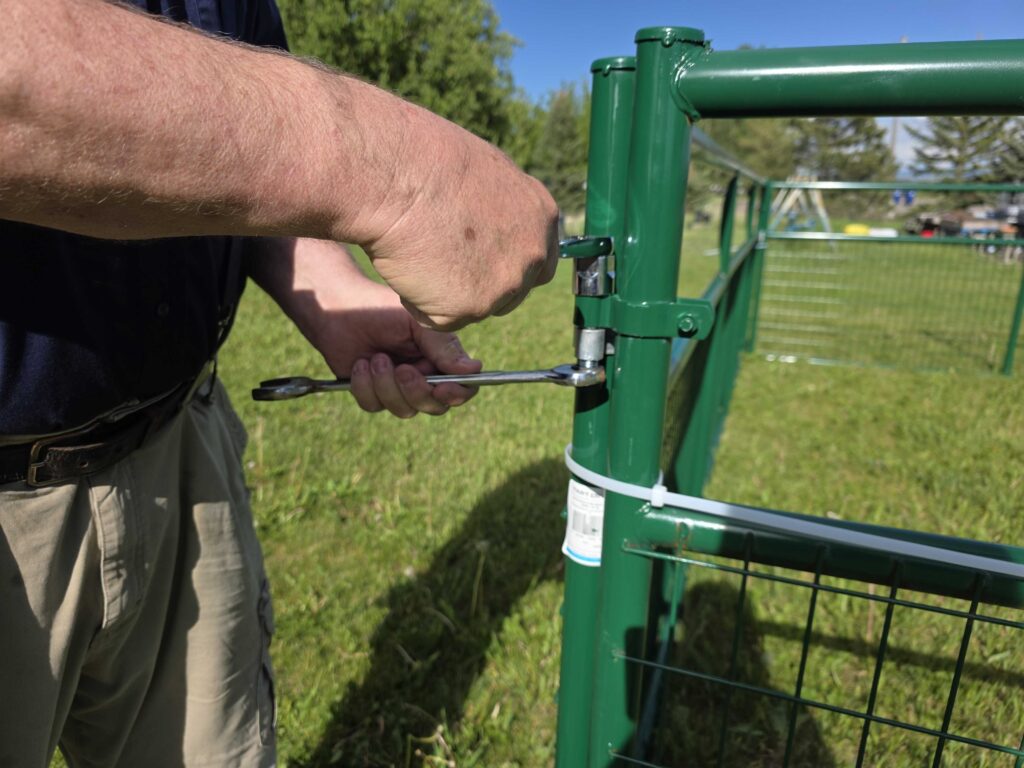
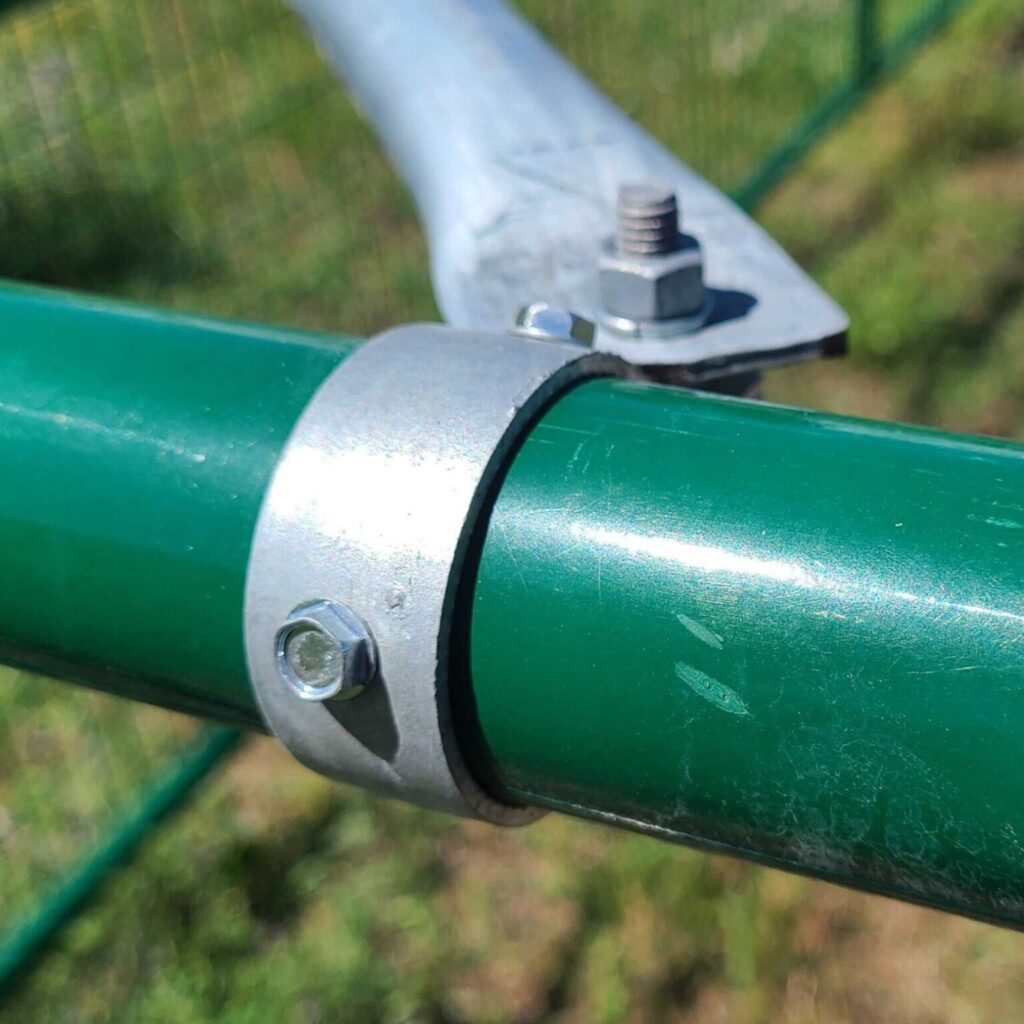
Insert and tighten the hinge bolt.

Insert the Hinge Bolt.

Place the Lock Nut, but do not over-tighten. The bolt should be a little loose.

The Zip Tie may now be removed.

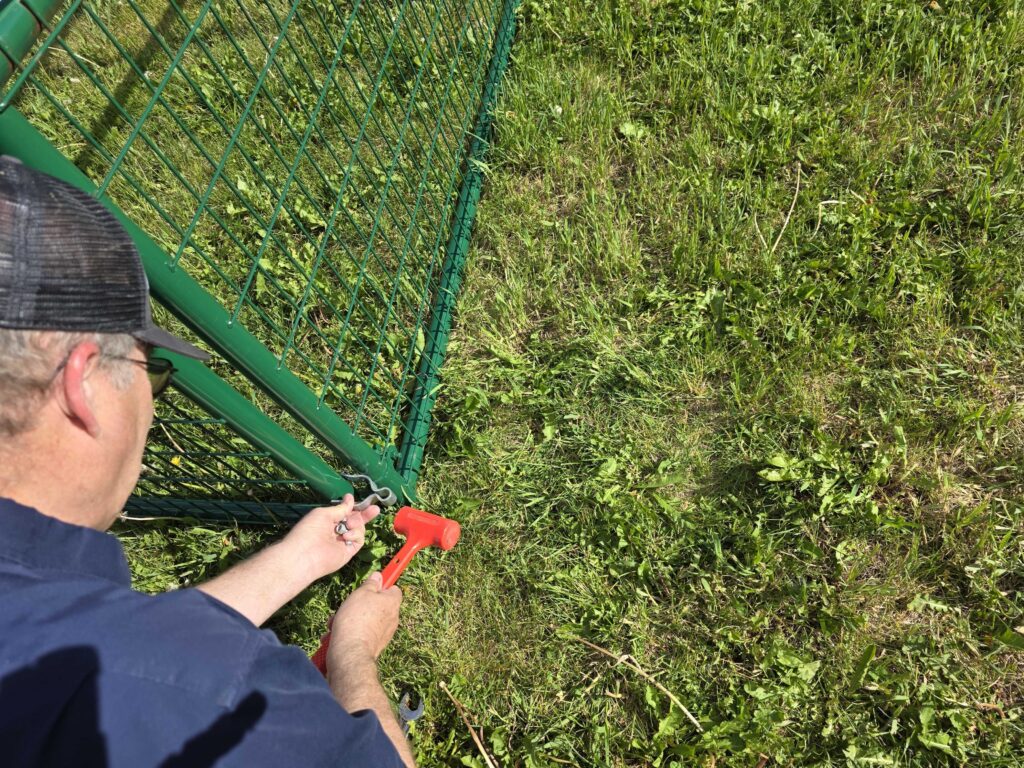
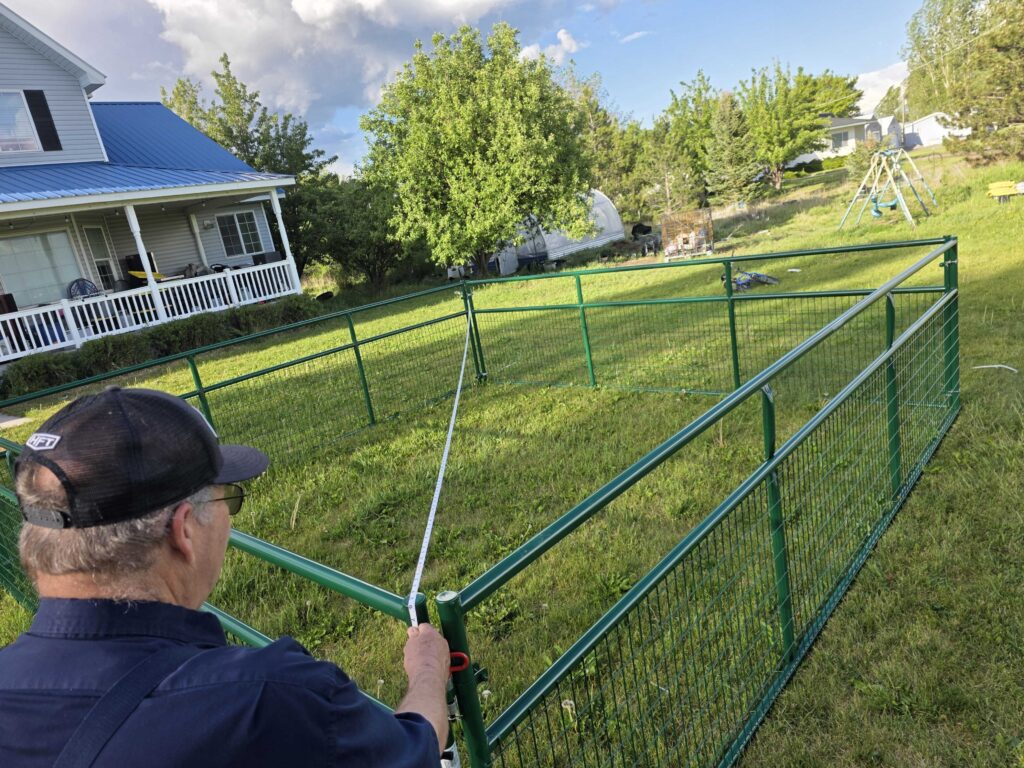
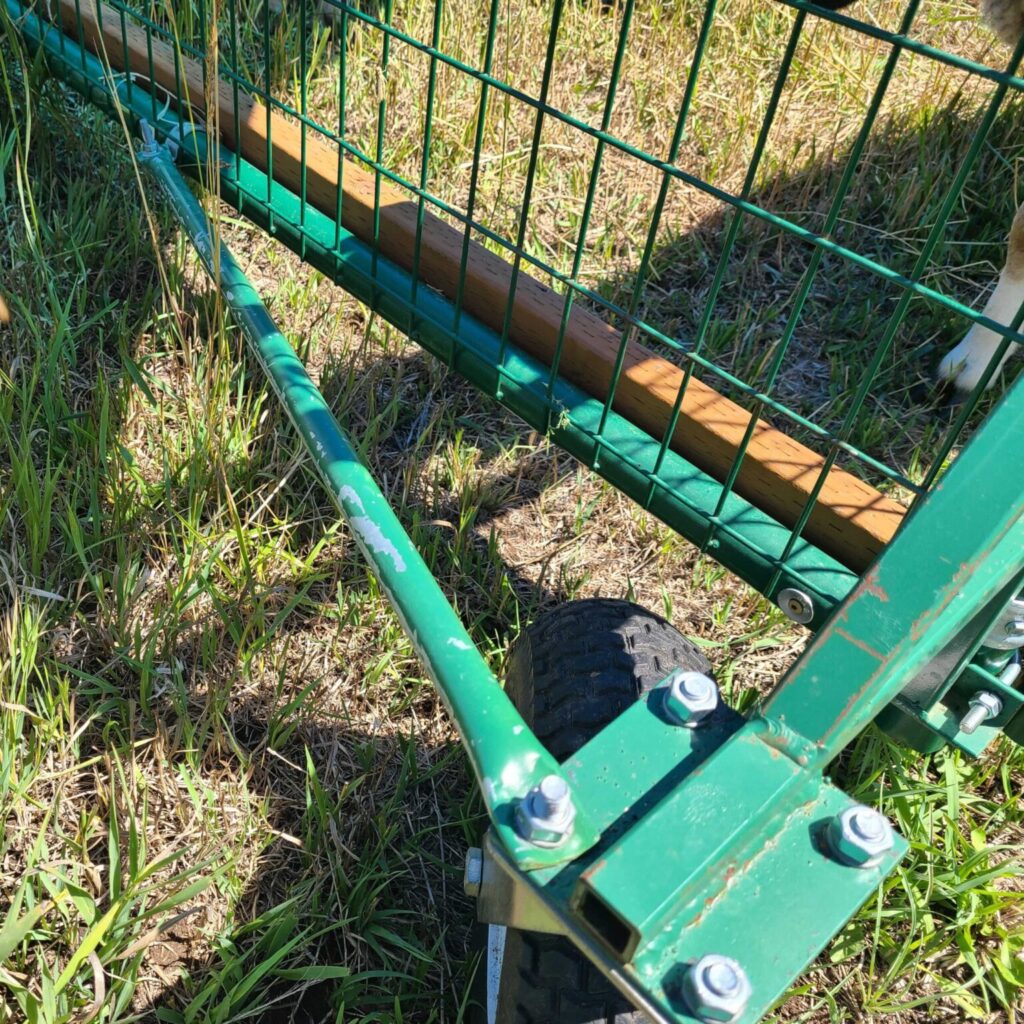
Repeat the process on the bottom corner.

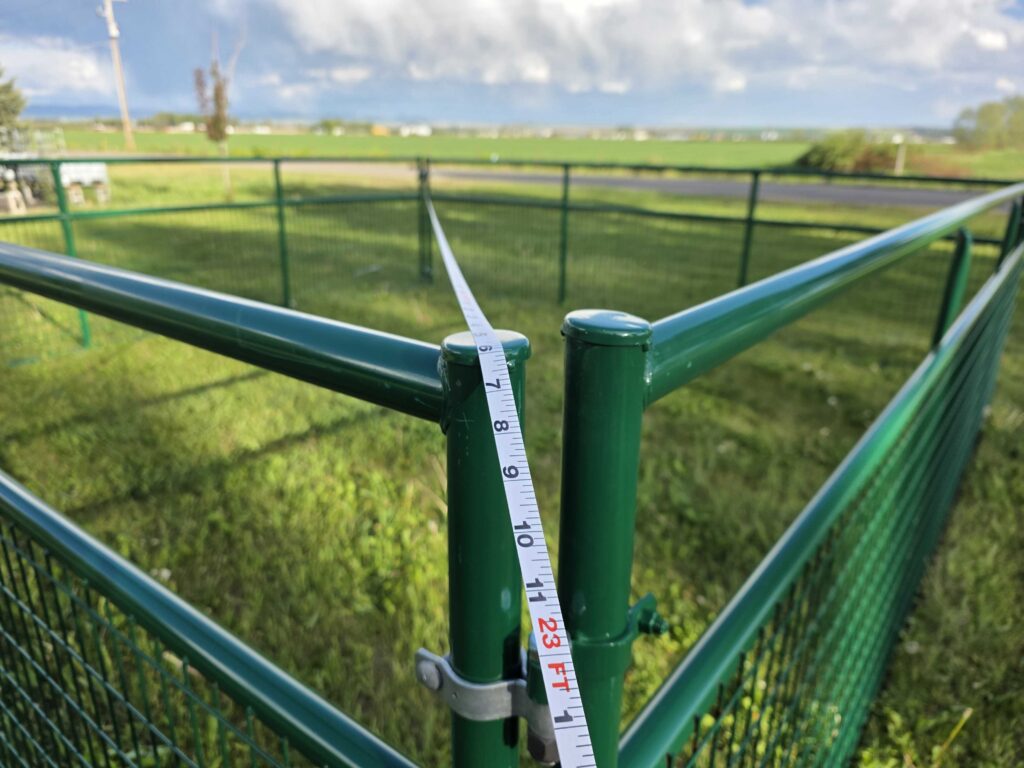
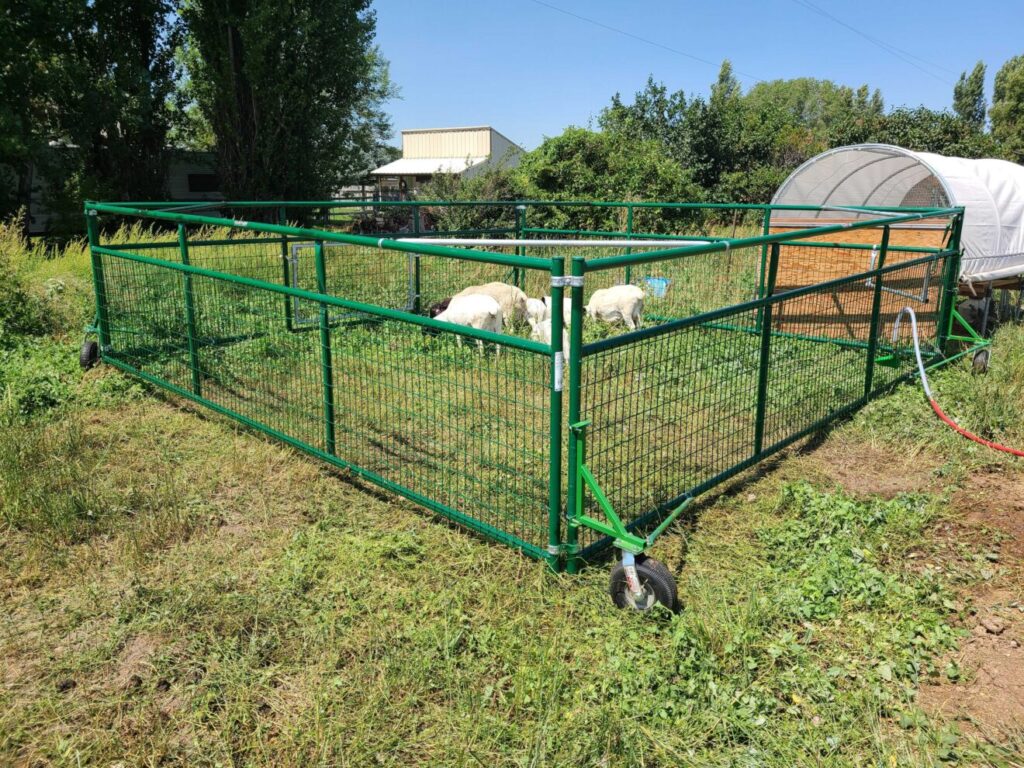
Do the same process on two additional corners.

Step 4: Install Opening Corner Hinges

On the fourth corner, install the opening hinges. There should be a hinge bracket above and below the hinge bracket provided with the gate.

Step 5: Square The Sheep Tractor

Measure diagonally across the sheep pen. Note the measurement.

Measure across the other 2 corners and adjust the gate panels until the measurements are the same.

Step 6: Install Top Corner Braces

Slide Part A into Part B and screw in self-tapping screws. Make sure Part A is all the way into Part B before attaching screws. 

The photo to the right shows the brace installed on the top bar. We now recommend installing on the next bar down.

Step 7: Install Bottom Corner Braces

Lorem ipsum dolor sit amet, consectetur adipiscing elit. Ut elit tellus, luctus nec ullamcorper mattis, pulvinar dapibus leo.

Lorem ipsum dolor sit amet, consectetur adipiscing elit. Ut elit tellus, luctus nec ullamcorper mattis, pulvinar dapibus leo.

Step 8: Install Wheel Struts and Casters

Attach the casters to the Wheel Strut. Notice that one of the four bolts will be longer to facilitate the attachment of the 3′ Wheel Strut Brace..

Lift each corner and place a block under the corner. We recommend a 6″ block. This will determine how high your pen is above the ground. The higher your pen is off the ground, the easier it will be to move, especially through tall grass. The higher off the ground your pen is, the higher the risk of animals escaping. We have found around 6′ is a good height but you can adjust the height to your preference..

Attach the Wheel Struts to the pen.

Attach the Wheel Strut Braces..

Step 9: Lock Down Brace Bands

Lock down all the Brace Bands with the included Self Taping Screws.

Ready For Sheep!

Your Sheep Tractor is now complete and ready for lambs! The number of sheep you can put in your pen depends on your parure, how often you want to move the tractor, and how much grass your sheep eat.

We want to move our tractors once a day. For us the is usually 5 sheep. You will have to experiment.

If you have any questions please call: (208) 390-0231